\
The *Raspberry Pi *series is outlined here (it will obviously grow):\
\
- Raspberry Pi Series: raspbmc and lego case
- Raspberry Pi Series: Replacing the Lego
case
\
\
I decided to get myself a Raspberry Pi after reading this blog
post
by Scott Hanselman. I really liked the idea of getting myself a cheap
system for AirPlay, not to mention all the other XBMC goodies.
If you don't know what XBMC is take a look
here. In short, it is a Media Center
software.\
\
I found that whilst setting up my Raspberry Pi, I was having to take in
a lot of sources to work out exactly what i was doing. So I decided to
document exactly what I did in a series of blog posts.\
\
Overview
In this post, I will be going through everything I did / bought to get
my Raspberry Pi and case all setup with raspbmc. There will be follow
up posts talking about what I did to solve other issues and complete the
setup.
\
Buying the Pi and accessories
I ordered the **Pi** from Farnell through this
[link](http://uk.farnell.com/raspberry-pi). The Pi has a 2 week
delivery period on it but it arrived within 1.5 weeks. I gather that
the delivery time varies with each order, depending on stock.
\
**Power Supply**
\
The **Pi** does not come with a power supply. I decided to order one
from Amazon,
[here](http://www.amazon.co.uk/EXTRA-Micro-Supply-Charger-Raspberry/dp/B008MWDTW4/ref=pd_sxp_f_pt).
You just need a 5v, 1A Micro USB charger. In hindsight, I think I
would order this directly from Farnell, although slightly more expensive
than the Amazon counterparts, there is a nice feeling about having the
**official** parts.
\
Whilst it is true that you don't necessarily need to buy the power
supply, I would recommend that you do. There are many people
successfully running their **Pi** from the spare USB port on the back of
a Sky HD box (I tried this too, and it worked), but personally if you
want to ensure that any issues you have are not power supply related,
get a proper power supply. The issue is that most UBS ports only output
500mA and the **Pi** needs 1A. It just means that if you do get issues
with your **Pi**, you can eliminate the power supply as a potential
issue immediately.
\
**SD Card**
**\
**
The **Pi** does not come with an SD card either, but this is something I
would source from Amazon. Make sure you check the list of [supported
cards](http://elinux.org/RPi_VerifiedPeripherals#SD_cards) before buying
too. I bought a **Sandisk 32GB SDHC Class** from
[here](http://www.amazon.co.uk/Sandisk-32GB-Secure-Digital-Card/dp/B00422GVQE).
\
If the card you use it too small, you will get crashes during the
**raspbmc** installation, with error messages that really don't tell you
much. I tried this to see what happens with an old 32MB SD card, the
**raspbmc** installer just continually crashed.
\
**HDMI Cable**
**\
**
The **Pi** does not come with an **HDMI** cable either. Again, I
sourced mine from amazon,
[here](http://www.amazon.co.uk/Nedis-V1-3a-Cable-Plated-Connectors/dp/B002MSU5BM).
It cost me £1.13 with free postage and packing, really can't argue with
that!
\
**Case**
**\
**
The **Pi** does not come with a case either. I would recommend getting
one as there is no on/off switch on it. This means that to turn it on
or off, you simply insert or pull out the **USB** power supply. This
can be tricky when all you have is circuit board and bare electronics to
hold on to. Getting a case means that you won't short it out and it
won't give you a little electric shock.
\
I decided to buy a Lego case. I bought it from
[here](http://www.thedailybrick.co.uk/lego-sets/custom/lego-custom-raspberry-pi-case.html).
\
Building the Lego Case
Building the Lego case was easy. There is a guide how to do it
[here](http://www.thedailybrick.co.uk/instructions/Building%20Instructions%20%5BRaspberry%20Pi%202%5D.html).
When you are building it, it seems to be a very odd design, but as you
continue through the building steps, you soon realise that it is a well
thought out design which provides a very snug fit for the **Pi**.
\
The Lego case is good, but in hindsight, I think I would buy a more
professional looking case from Amazon. There are some good choices
around that aren't quite as flimsy as the Lego one.
\
Here are some pics of the finished article.
\
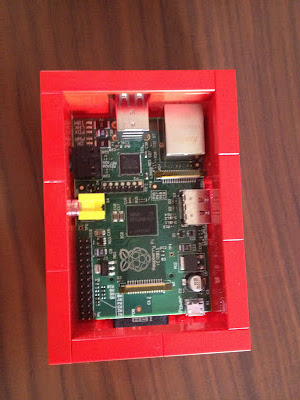 Top down without the cover
\
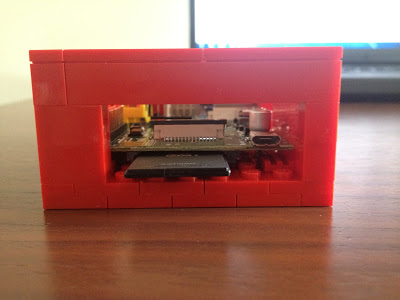
 Side view, no cover
\
 SD Card
\
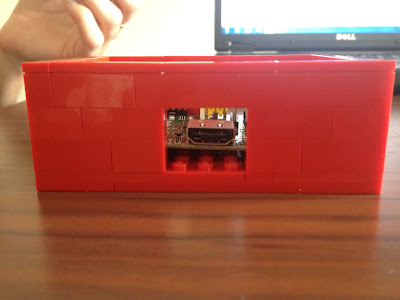 HDMI Output
\
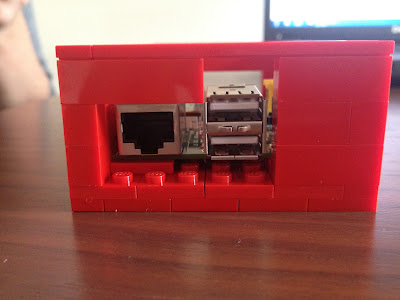 USB and Network Interface
\
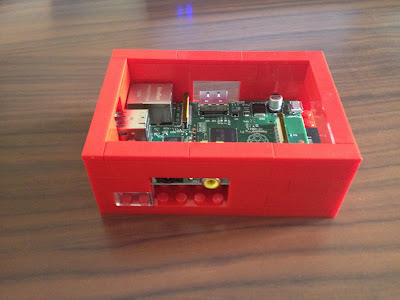
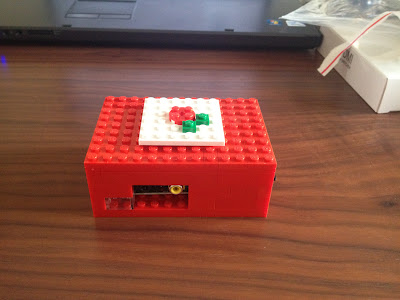 With cover on
\
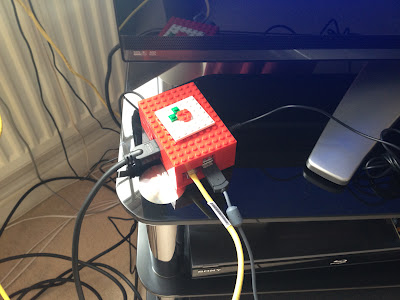 All hooked up with cover on
\
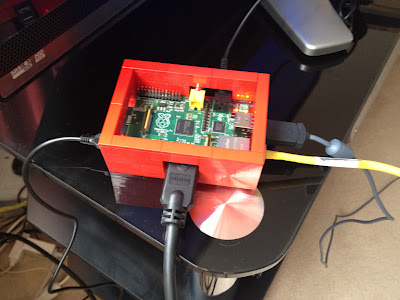 All hooked up, topless!
\
\
Installing Raspbmc
This really could not have been simpler. Sam Nazarko (the author), has
done a really good job with this. There is a small installer that you
download onto your computer and then run. This installer puts a little
program onto the SD card, which then downloads and installs the full
system onto the **Pi.** It couldn't be easier.
\
A guide how to do that in windows is
[here](http://www.raspbmc.com/wiki/user/windows-installation/).
\
All you do then is put the SD card in the **Pi** and boot it up! Below
are some screenshots of the install experience. It took about 1 hour
for me (I have very slow internet). It should be noted that a working
internet connection it required for the **raspbmc** to install.
\
It starts my downloading the root file system. This was the longest
part of the process for me.
\
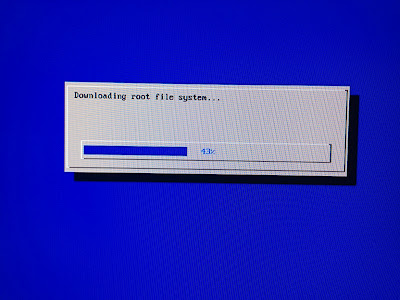 Initial download of the root file system
\
Once downloaded, it gets installed.\
\
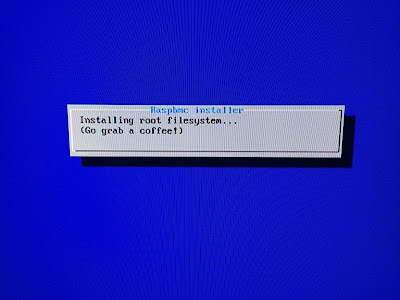 Installing the filesystem
\
Then it downloads the kernel and bootloader...\
\
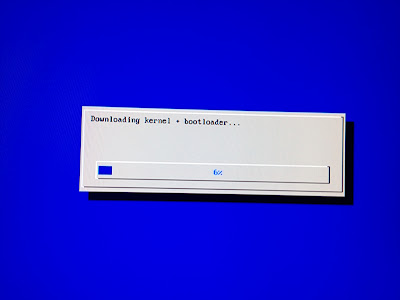 downloading the kernel and bootloader
\
I got a few errors during this step, but they didn't seem to affect the
installation.\
\
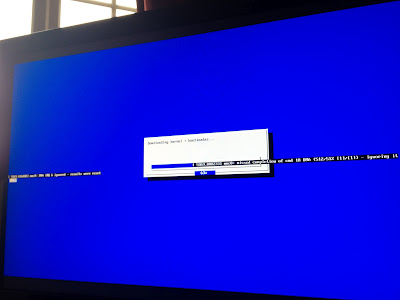 errors!!
\
Next is downloading the kernel modules and libraries.\
\
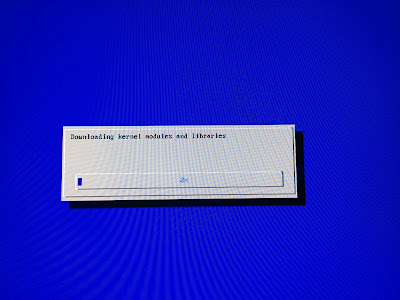 More downloads!
\
Seems installation is almost complete...\
\
\
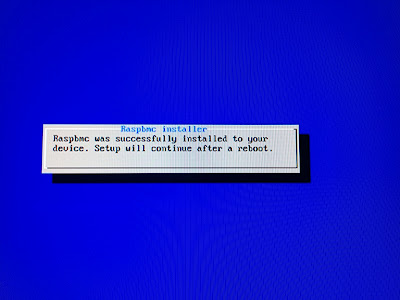 Successful!
\
First time setup...\
\
\
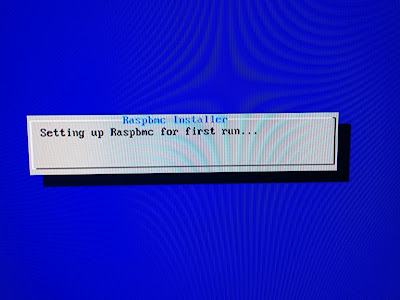 First time setup required
\
Updating the management service.\
\
 Management Service requires updating
\
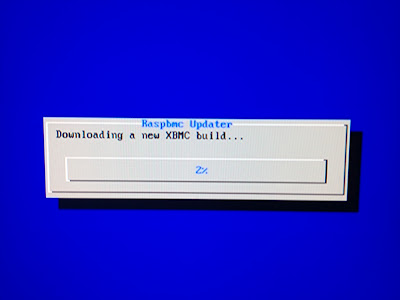
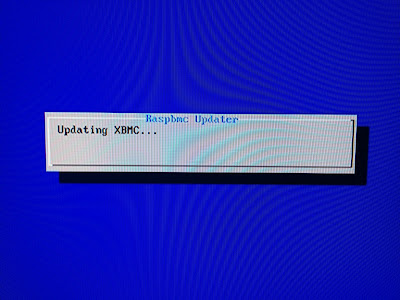
It starts downloading a new XBMC build.\
\
\
---------------------------------------------------------------------------------------------------------------------------------------------------------------------------------------
[](https://res.cloudinary.com/gregpakes/image/upload/v1439623918/wxir69iuru4ywqrpyatv.jpg)
Downloading new XBMC build
---------------------------------------------------------------------------------------------------------------------------------------------------------------------------------------
\
Updating...\
\
---------------------------------------------------------------------------------------------------------------------------------------------------------------------------------------
[](https://res.cloudinary.com/gregpakes/image/upload/v1439623919/aeeriokvqacg8jgssspc.jpg)
Updating...
---------------------------------------------------------------------------------------------------------------------------------------------------------------------------------------
\
Boot Logo!!\
\
---------------------------------------------------------------------------------------------------------------------------------------------------------------------------------------
[](https://res.cloudinary.com/gregpakes/image/upload/v1439623920/yabarmmqhhxoyx9geqg8.jpg)
The boot logo appears!
---------------------------------------------------------------------------------------------------------------------------------------------------------------------------------------
\
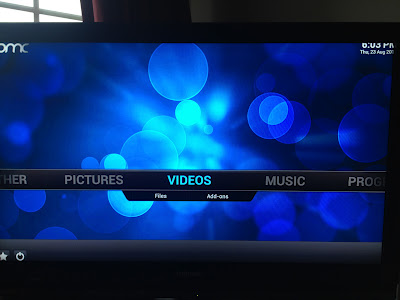
It works!!!!\
\
---------------------------------------------------------------------------------------------------------------------------------------------------------------------------------------
[](https://res.cloudinary.com/gregpakes/image/upload/v1439623921/ql3dkqznbgeqfeihk46l.jpg)
Its working!
---------------------------------------------------------------------------------------------------------------------------------------------------------------------------------------
What next?
----------
To control the **Pi**, I simply plugged in a USB mouse I had around the
house and if plugged in before boot up, **raspbmc** detected it with no
issues and I was able to start configuring it.
\
From the last picture, you might be able to see that the picture is
slightly too big for my TV. I initially tried to resolve this by going
into the **Calibration**, and whilst this looked hopeful, I was unable
it exit it with only the mouse. I eventually fixed this issue by
setting the **Zoom** setting to -6%. This can be found in the video
settings section of **raspbmc.**
**\
**
There are still many things I** **need to do with my **Pi** in order for
it to be treated as a normal TV appliance and these will be covered in
future posts.
\
All that remains is to make a donation to Sam Nazarko. I think this is
a system that I will get a lot of use out of and therefore have no
problem paying for it. The donation link can be found
[here](http://www.raspbmc.com/).